5 Expert Tips for Seamless Stucco Repair
Welcome to our comprehensive guide on mastering stucco repair! Whether you're a seasoned DIY enthusiast or a first-time homeowner looking to spruce up your exterior, this article is packed with invaluable tips and tricks to ensure your stucco repairs are seamless and long-lasting. From understanding common stucco issues to learning how to match texture like a pro, we've got you covered.
In this post, we'll delve into the essential tools you need for successful DIY stucco repair, provide you with a step-by-step guide to fix those pesky cracks, and share expert recommendations for achieving a flawless finish. Say goodbye to unsightly stucco damage and hello to a smooth, pristine exterior that will stand the test of time. Let's dive in and transform your stucco repair game!
Understanding Common Stucco Issues
Stucco is a popular choice for exterior finishes due to its durability and aesthetic appeal. However, over time, stucco can develop common issues that may require repair to maintain its integrity and visual appeal. Understanding these common stucco issues is essential for homeowners looking to tackle stucco repair projects effectively.
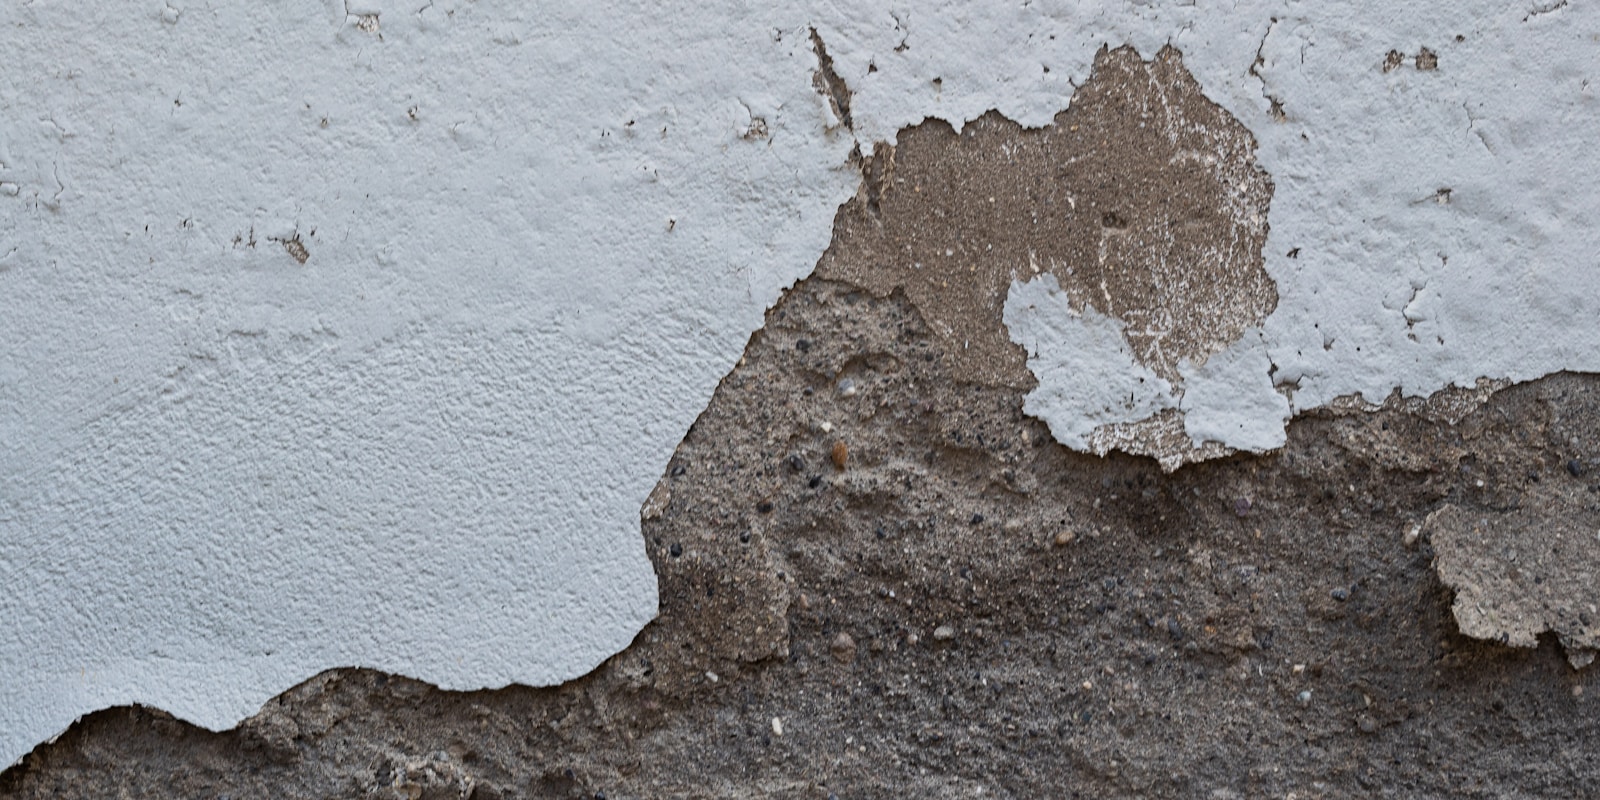
One of the most prevalent stucco issues is cracking, which can result from various factors such as settling of the foundation, temperature fluctuations, or poor installation techniques. It is crucial to assess the severity of the cracks to determine the appropriate repair method, whether it involves filling the cracks with stucco patching compound or addressing underlying structural issues.
Another common problem with stucco is efflorescence, which manifests as white, chalky deposits on the surface of the stucco. This issue is typically caused by water infiltrating the stucco and carrying minerals to the surface. Properly identifying the source of water intrusion and addressing it is key to preventing efflorescence from recurring after repair.
Staining and discoloration are also frequent concerns with stucco exteriors, often resulting from mold, mildew, or algae growth. Cleaning the stucco thoroughly and applying an appropriate stain-blocking primer can help restore its appearance and prevent future staining.
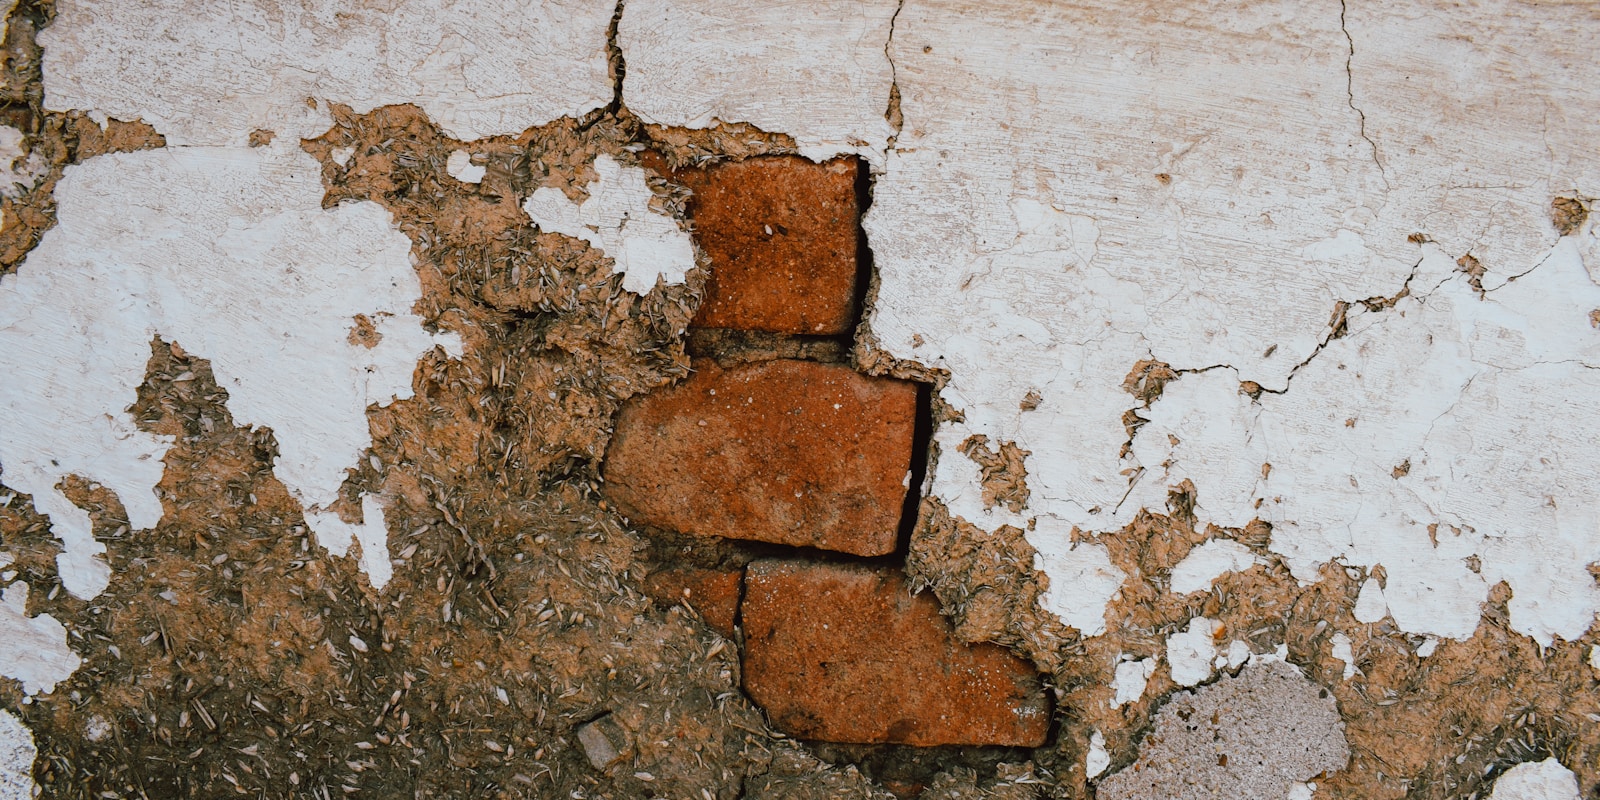
Furthermore, stucco may experience bulging or blistering, which can indicate moisture damage or improper installation. Addressing the underlying cause of these issues is essential to prevent further damage and ensure a successful repair.
By familiarizing yourself with these common stucco issues and their underlying causes, you can approach stucco repair projects with confidence and achieve seamless results that enhance the longevity and beauty of your home's exterior
Essential Tools for DIY Stucco Repair
Stucco repair might seem like a daunting task, but with the right tools at your disposal, you can tackle it with confidence. Having the essential tools for the job not only makes the process smoother but also ensures a more professional outcome. Here are some key tools you should have for any DIY stucco repair project:
1. **Stucco mix**: This is the primary material you will need to repair any damaged areas of your stucco. Make sure you have enough stucco mix on hand to cover the areas requiring repair.
2. **Trowels**: A variety of trowels will be necessary for applying the stucco mix evenly and smoothing it out for a seamless finish. A pointing trowel, margin trowel, and finishing trowel are all useful tools to have.
3. **Hawk and trowel**: A hawk is a flat square board with a handle underneath that you place the stucco mix on. It gives you a convenient surface to work from when applying the stucco to the wall using a trowel.
4. **Fiberglass mesh**: This is used to reinforce the stucco in areas where there are cracks or holes. The mesh helps to provide additional strength and support to prevent future cracking.
5. **Mixing drill**: To ensure your stucco mix has the right consistency, a mixing drill or paddle mixer attachment for a power drill can save you time and effort compared to mixing by hand.
6. **Safety equipment**: Safety goggles, gloves, and a dust mask are essential for protecting yourself while working with stucco mix and other materials.
7. **Sponge and water**: Having a sponge and water handy is crucial for cleaning up any excess stucco mix and smoothing out the surface of the repair for a professional look.
By having these essential tools on hand, you can confidently tackle your DIY stucco repair project and achieve a seamless finish that will enhance the appearance and durability of your home's exterior
Step-by-Step Guide to Repairing Stucco Cracks
Repairing stucco cracks is a common task for homeowners looking to maintain the exterior of their homes. Whether your stucco has cracked due to settling, impact damage, or simply age, addressing these cracks promptly is essential to prevent water infiltration and further deterioration. Here are five expert tips to help you achieve a seamless stucco repair:
1. **Assess the Damage**: Before starting the repair process, thoroughly inspect the stucco surface to identify all areas with cracks. It's crucial to distinguish between hairline cracks that are common in stucco and larger, more concerning cracks that may indicate underlying structural issues.
2. **Prepare the Surface**: Clean the cracked area with a wire brush or a pressure washer to remove any loose debris, dirt, or old stucco. Ensure the surface is dry before proceeding with the repair to promote better adhesion of the new stucco material.
3. **Choose the Right Repair Material**: Select a high-quality stucco patching compound that matches the color and texture of your existing stucco finish. Opting for a pre-mixed stucco repair product can streamline the repair process and help you achieve a seamless blend with the surrounding stucco.
4. **Apply the Stucco**: Follow the manufacturer's instructions to mix the repair compound to the proper consistency. Using a trowel, carefully fill the cracks with the stucco mixture, ensuring it is pressed firmly into the damaged area and smoothed out to match the surrounding texture. For larger cracks or areas requiring extensive repair, consider applying multiple thin layers for a more durable finish.
5. **Finishing Touches**: Once the repair compound has dried according to the manufacturer's recommendations, use a fine-grit sandpaper to gently smooth out any rough edges or imperfections. To achieve a uniform appearance, you may need to paint or apply a stucco sealer over the repaired area to blend it seamlessly with the rest of the stucco surface.
By following these expert tips and taking a meticulous approach to stucco repair, you can effectively address cracks in your stucco finish and restore the aesthetic appeal and structural integrity of your home's exterior. Remember, proper maintenance and timely repairs are key to preserving the longevity of your stucco finish and safeguarding your home against moisture intrusion and costly damage
Best Practices for Matching Stucco Texture
Achieving a seamless stucco repair involves more than just fixing the structural damage; it also requires matching the stucco texture correctly to seamlessly blend the newly repaired area with the existing surface. Here are some best practices to ensure a successful match:
1. **Study the Existing Texture**: Before starting the repair, take the time to closely examine the texture of the surrounding stucco. Note the patterns, depth, and overall appearance. This will serve as your guide when recreating the texture later on.
2. **Test Samples**: It's crucial to create test samples of the stucco mix to ensure that the color and texture match the existing stucco. Adjust the mix as needed until it seamlessly blends with the original surface.
3. **Use the Right Tools**: To match the stucco texture accurately, utilize the same tools that were originally used to create the texture. Whether it's a trowel, sponge, brush, or roller, using the correct tools will help you achieve a more authentic result.
4. **Layering Technique**: Applying the stucco in layers can help recreate the depth and dimension of the existing texture. Start with a base layer and gradually build up the texture until it matches the surrounding stucco.
5. **Practice and Patience**: Matching stucco texture requires practice and patience. Don't rush the process; take your time to ensure that the repaired area seamlessly blends with the rest of the surface. Remember, practice makes perfect!
By following these best practices for matching stucco texture during the repair process, you can achieve a seamless result that not only fixes the damage but also maintains the aesthetic integrity of the stucco surface
Pro Tips for Long-Lasting Stucco Repairs
**5 Expert Tips for Seamless Stucco Repair**
Stucco repair can be a daunting task, but with the right knowledge and techniques, you can ensure that your repairs last for years to come. Here are some expert tips to help you achieve seamless and long-lasting stucco repairs:
1. **Surface Preparation is Key:** Before starting any stucco repair project, make sure to thoroughly clean the surface and remove any loose debris or old stucco. This will create a clean and stable base for your repairs and ensure better adhesion of the new stucco material.
2. **Use the Right Materials:** When it comes to stucco repair, using high-quality materials is essential for long-lasting results. Invest in top-notch stucco mix, bonding agents, and additives to ensure that your repairs are durable and weather-resistant.
3. **Repair Cracks and Gaps Promptly:** Even small cracks or gaps in your stucco can lead to bigger issues if left unattended. Make sure to address any damage promptly to prevent water infiltration, which can cause further damage and compromise the integrity of your stucco.
4. **Apply Stucco in Thin Layers:** When applying stucco for repairs, it's crucial to apply the material in thin layers rather than trying to cover the damage in one thick coat. Thin layers not only adhere better but also dry more evenly, reducing the risk of cracking and ensuring a smoother finish.
5. **Proper Curing and Maintenance:** After completing your stucco repairs, allow the material to cure properly before exposing it to moisture or extreme temperatures. Additionally, regular maintenance such as cleaning and sealing can help prolong the lifespan of your stucco and keep it looking great for years to come.
By following these expert tips for seamless stucco repair, you can ensure that your repairs not only look great but also stand the test of time. Remember, proper preparation, high-quality materials, prompt repairs, careful application, and regular maintenance are the keys to long-lasting stucco finishes
Conclusion
Conclusion: Mastering stucco repair doesn't have to be a daunting task anymore with the right guidance and tools at your disposal. In this blog post, we've shared 5 expert tips to help you achieve seamless stucco repairs that are not only aesthetically pleasing but also durable in the long run. By understanding common stucco issues, mastering texture matching techniques, and following a step-by-step guide, you can say goodbye to unsightly cracks and hello to a flawless finish on your exterior walls. Remember, with the proper tools and expert recommendations, your stucco repair game will be on point, ensuring a smooth and pristine exterior that stands the test of time. Happy repairing!